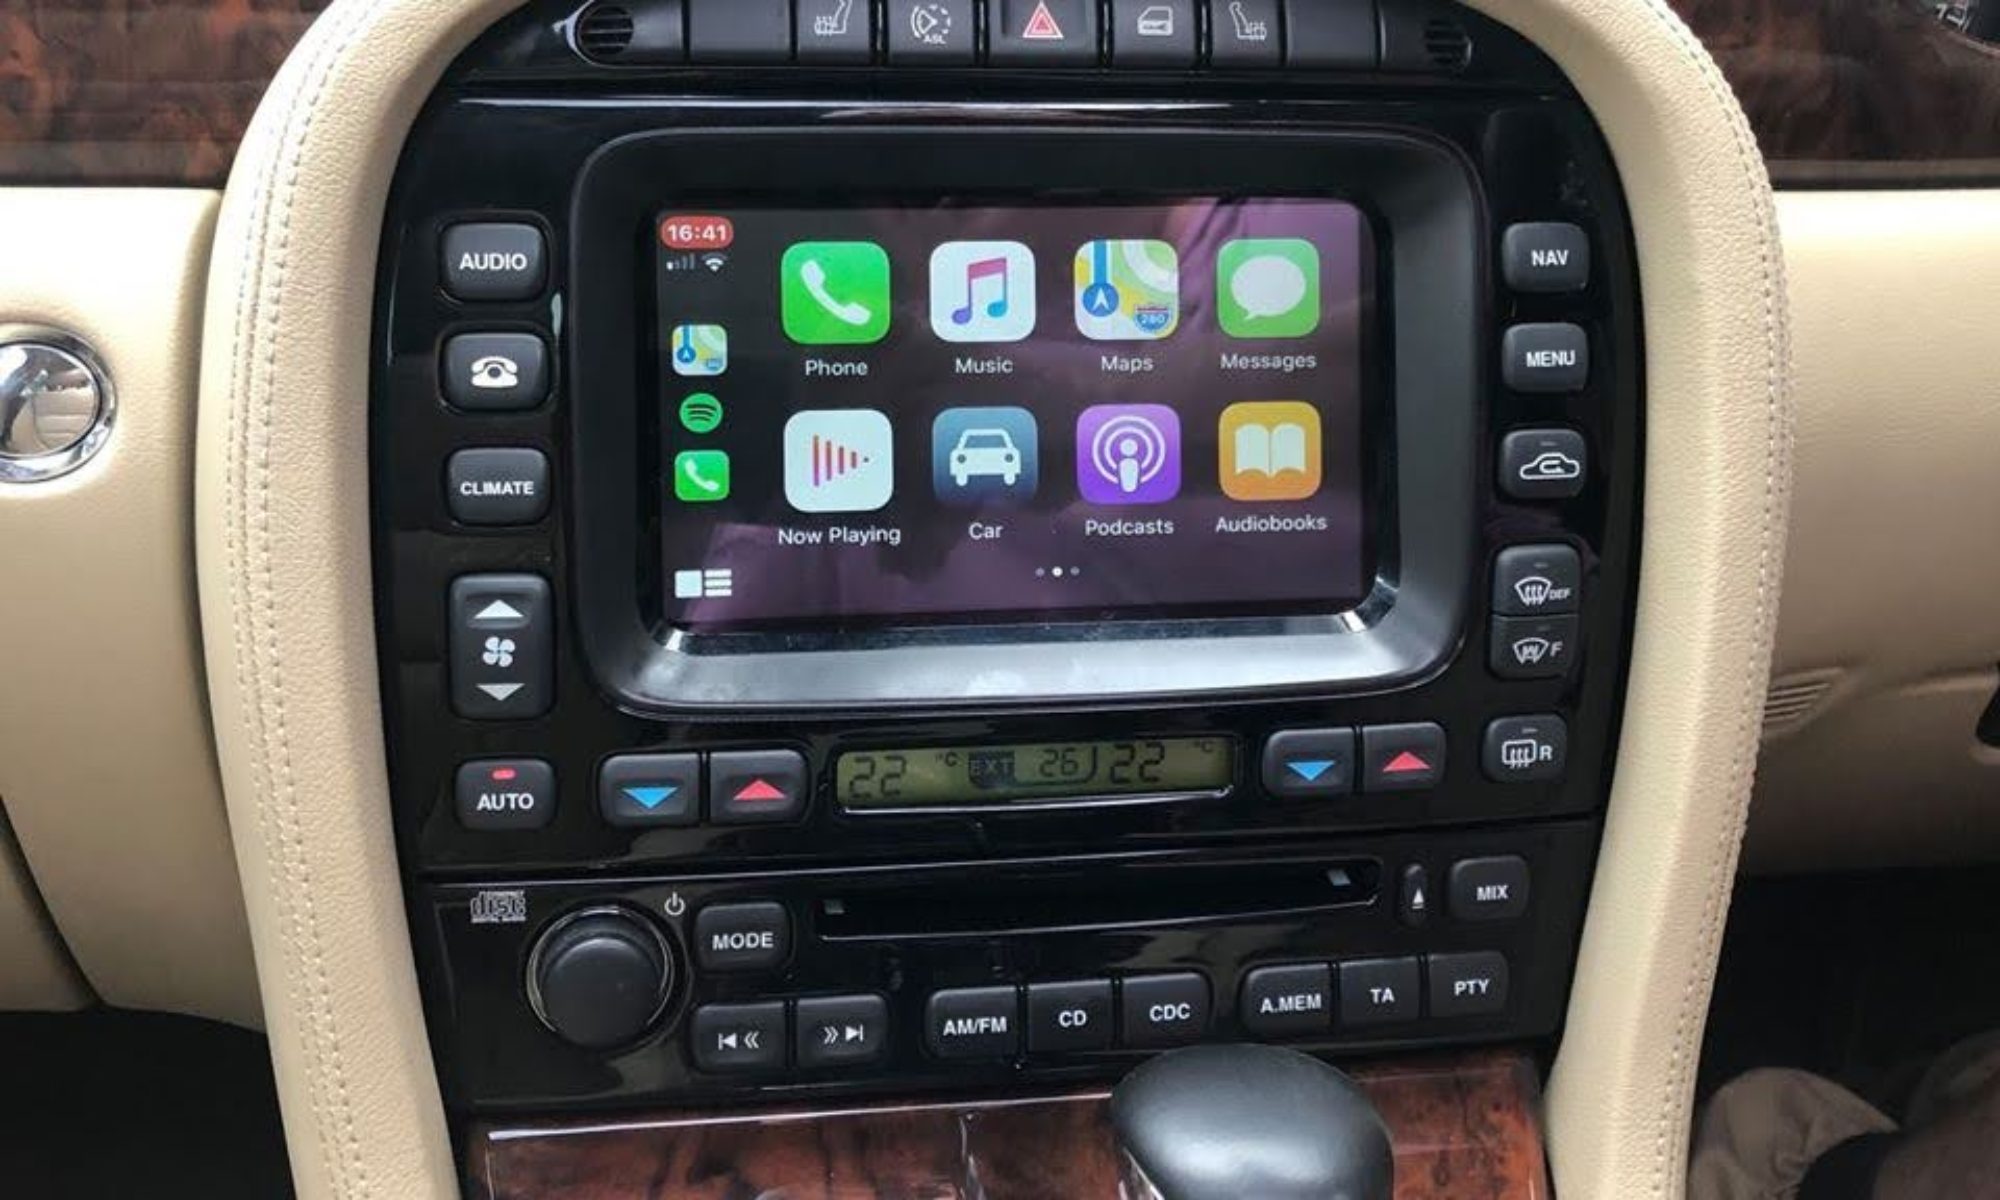
This page details the configuration of the Official Odroid Android 9.0 Pie ROM images that are recommended for use with the Odroid N2+, and gives you two options:
Option 1) You can download pre-built images that are designed to be flashed to an eMMC card as-is, and contains all of the configuration parameters detailed below. Click here for the image files and instructions on flashing those to your eMMC card.
Option 2) Download the ROM files from the Odroid Forum and make the necessary configuration changes manually.
Following are the configuration options I recommend to configure the Odroid N2+, including installation of the Official Android 9.0 ROM image.
- Download the latest working and tested Official ROM image from the Odroid Forum
- Using Etcher write the image to your eMMC card using a USB->SD and SD->eMMC adapter
- Install the eMMC card into the Odroid and boot into the operating system
I recommend the following configuration options:
- Settings:
- System:
- Advanced:
- Developer options:
- Root access – Apps and ADB
- USB debugging – OFF
- Developer options:
- Date & Time
- Select Time Zone
- (Select Region and Time Zone)
- Select Time Zone
- Languages and Input:
- Add a language (English (United Kingdom)
- Remove US English
- Display:
- Advanced:
- Font size – Largest
- Advanced:
- Advanced:
- Launch Terminal Emulator
- su, then Allow and remember
- wm density 175
- Set volume to max
- Install Apps from .apk files using File Manager:
- GPSTest
- Launch GPSTest and Allow all
- Copy OpenGapps Pico zip file to Downloads folder
- Connect to Wifi
- Odroid Settings:
- Update
- Check update at Boot – OFF
- From Downloaded package
- Install Open Gapps Pico
- Audio Output – Output select – SPDIF or HDMI/Line out (depending on your audio system)
- Bluetooth A2dp Select – A2DP SINK
- Shortcut:
- F7 – Terminal Emulator
- F8 – Google Assistant (if installed)
- F10 – GPS application of your choice (GPS Test is good for testing)
- Display – Screen Resolution – Display Mode – 800x480p@60hz and reboot
- Settings
- Connected Devices:
- Pair new device
- Device name – Rename to JagDroid-N2
- Connected Devices:
- Swipe down – Configure physical keyboard
- Show virtual keyboard (on)
- Physical Keyboard
- English UK (with Arduino connected)
- Swipe down – Discover Trust
- Got It
- Manage Alerts
- Security alerts – both off
- Edit /odm/env.ini
- change: disablehpd = true
- Edit /vendor/build.prop
- add: persist.sys.useint16resampler=0
Add a JagDroid boot logo and/or boot animation to the Odroid:
- Please follow this link to add a boot logo or boot animation to your Odroid, courtesy of our friends at x-type.uk
The final step is to register the Odroid N2 device with Google Play, so that you can use the Play Store. Please click here for instructions.

